A Comprehensive Guide to Raising Baby Chicks Week by Week
Do you find yourself overwhelmed and uncertain about raising baby chicks? Don’t fret! Our comprehensive guide to raising baby chicks week by week is here to help you. We understand the challenges and uncertainties that come with nurturing these adorable, fragile creatures.
With our expert knowledge and step-by-step instructions, you’ll gain the confidence and peace of mind needed to successfully navigate each week of their growth. So let’s start your journey of raising happy, healthy baby chicks.
Table of Contents
- Setting Up the Perfect Brooder
- Day 1: Start to Raising Baby Chicks – Temperature, Drinking, and Feeding
- Week 1: Nurturing Sleepy Chicks and Addressing Pasty Butt
- Week 2: Baby Chicks Grow and Socialize
- Week 3: Growing Chicks and Brooder Management
- Week 4: Outdoor Adventures for Growing Chicks
- Week 5: Adolescent Chicks and Feed Transition
- Week 6: Transitioning to the Coop
- Week 17-27: From Chicks to Egg Layers
- Conclusion: Raising Baby Chicks Week by Week
Setting Up the Perfect Brooder
Before the arrival of baby chicks, it is crucial to prepare a suitable brooder to ensure their well-being. A brooder can be as simple as a cardboard box or a plastic tote. It should be equipped with a heat lamp to maintain the necessary warmth for the chicks. While regular lights can be used, they pose a safety risk if left unattended, so caution is advised.
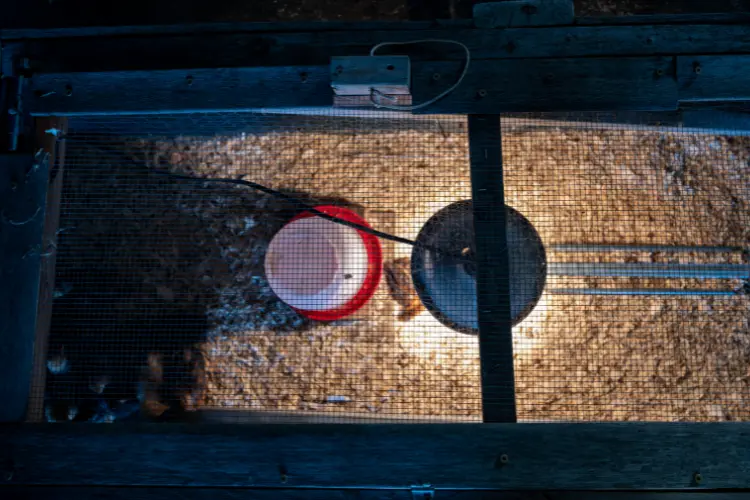
Besides the warm box, or “brooder,” you should also have a place for them to eat and drink. Make sure the chicks can reach their food and water as soon as they get there. Also, pick a floor for the brooder that isn’t slippery because chicks could slide, hurt their legs, and then have trouble standing or walking or “spraddle leg”.
By preparing the best chick brooder with the right heat, food place, and floor, you can create a nice and safe home for baby chicks to start growing up.
Read also: Step-by-Step: How to Create the Perfect DIY Chicken Brooder
Day 1: Start to Raising Baby Chicks – Temperature, Drinking, and Feeding
It’s very important to keep the box, or “brooder”, where your baby chicks live warm. The perfect warmth is like a sunny day, between 90-95°F (32-35°C). This feels like they are under a mother hen’s wings and helps them grow healthy and strong.
Also, baby chicks might need help learning how to drink water at first. You can pretend to be their mom by gently touching each chick’s beak to the water to show them how to drink. Making sure they learn this is very important for them to live. You can do the same thing later with their food, to show them where it is.
Read also: How Long Do Chicks Need a Heat Lamp: The Definite Answer
Week 1: Nurturing Sleepy Chicks and Addressing Pasty Butt
During the first week of raising baby chicks, it’s important to understand that they will spend a significant amount of time sleeping. While they rest, it is essential to ensure they have access to clean food and water, even though their activity levels may be minimal.
One common issue that may arise during this stage is “pasty butt,” which occurs when feces become stuck and clog the chick’s vent. To address this, carefully soak the chick’s bottom with a warm, wet paper towel to gently remove the plug and prevent potential harm.
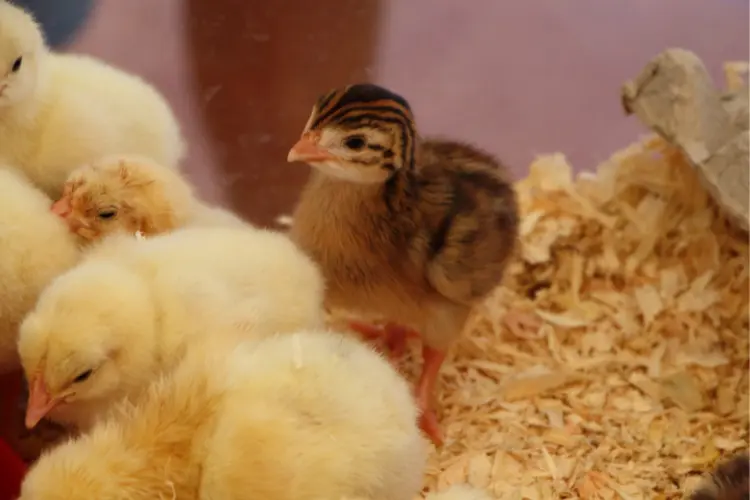
Checking the chicks’ bottoms daily is very important to spot a problem called “pasty butt” quickly. If we don’t catch it early, it can make the chick sick or even cause it to die. Also, remember to clean up any dirty or wet spots in the box, or “brooder”, to keep it clean.
It’s really important always to have fresh food and water for the chicks because they grow super fast and need lots of nutrition. If you’re using a heat lamp to keep them warm, make sure the brooder feels as warm as a sunny day, about 95 degrees Fahrenheit (35 degrees Celsius).
Week 2: Baby Chicks Grow and Socialize
In the second week of raising baby chicks, they’ll become more active, and their feathers will start to show through their soft fuzz. It’s still very important to watch for any signs of “pasty butt” and to clean or change any dirty or wet parts of their “brooder”. Remember, they need fresh food and water every day to grow strong.
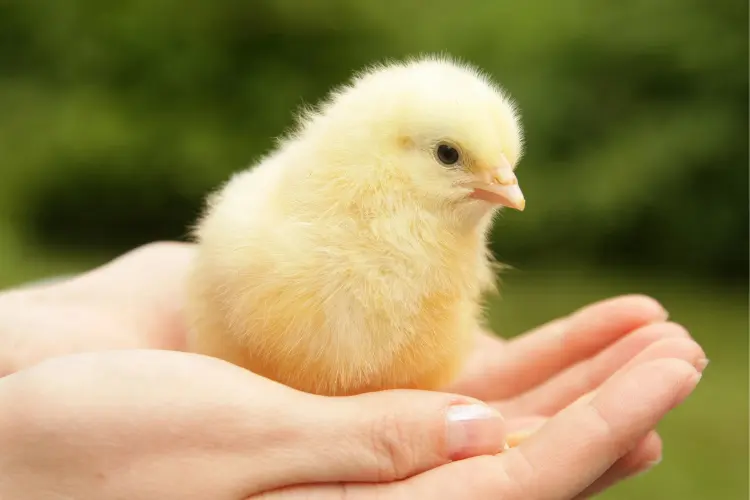
If you want your chickens to be friendly when they grow up, it’s a good idea to hold and play with the chicks gently every day. This helps them get used to people, and they’ll be calmer and nicer when they’re older.
If you’re using a heat lamp to keep the chicks warm, you can now make their “brooder”, a little cooler, around 90 degrees Fahrenheit (32 degrees Celsius). Watch the chicks to see if they’re feeling too cold or too hot. If they huddle together, they’re cold, and if they stay away from the heat lamp, they’re too hot.
You can make their brooder even better by putting shavings on the floor and adding a little stick for them to perch on. This helps them act like real chickens and prepares them for aging. Keep spending time with them, too, as this makes them friendlier when they grow up.
Week 3: Growing Chicks and Brooder Management
In the third week, your baby chicks will grow even more and might need a bigger “brooder”. Make sure the brooder has a safe top on it so the chicks can’t get out. This will give them a safe place to keep growing.
Now that they have more feathers to keep them warm, you can make the brooder a bit cooler, around 80°F (27°C).
You can also start giving them small, healthy snacks along with their regular food. But make sure you don’t give them too many treats so they don’t forget to eat their regular food. Watch how they eat their treats and regular food to ensure they’re doing well.
Read also: What Do Chickens Eat – 201 things on our list
Week 4: Outdoor Adventures for Growing Chicks
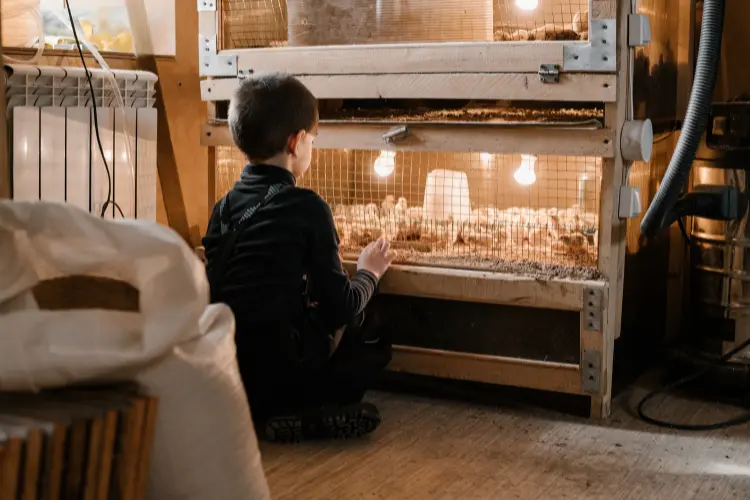
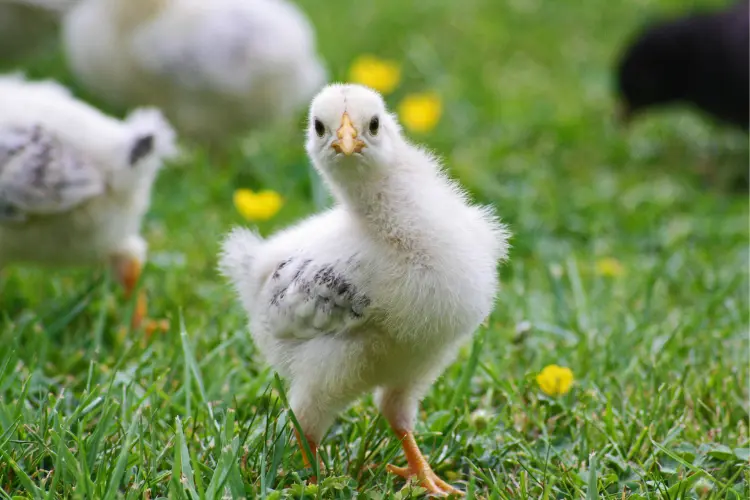
By the fourth week, your baby chicks have grown a lot and can start going outside to play, as long as the weather is good. When it’s a nice day, you can let them out but make sure to watch them closely. Don’t let them get too cold.
Now, you can make the brooder even cooler, about 75°F (24°C). The chicks have more feathers now to keep them warm and don’t need as much heat from the lamp.
When the chicks are outside, stay with them and keep them safe from any animals that might hurt them. Watch how they act to make sure they’re comfortable and not scared.
Remember, don’t let them out if it’s too hot or too cold, windy, or rainy. Even though they’re bigger, chicks can still get sick easily, so it’s important to keep them safe while they explore outside.
Week 5: Adolescent Chicks and Feed Transition
When your chicks reach the fifth week, they’re like teenagers. If it stays warm at night, above 60°F (15°C), you can start to turn off the heat lamp in their “brooder”. But make sure they’re still protected from any cold weather.
To help them keep growing strong, start mixing some adult chicken food with their chick food. This helps them get used to eating grown-up food. Always make sure they have clean water to drink too.
You might even see if your chicks are boys or girls, which can be really fun! Look for differences in how they look to tell them apart.
Keep watching your chicks closely to make sure they’re healthy and happy. Give them a safe and comfy place to live as they go through their “teenage” weeks.
Week 6: Transitioning to the Coop
By the sixth week, it’s time to move your growing chicks from their “brooder”, to their new home in the chicken coop. But you should do this slowly, so they can get used to their new place.
Let the chicks get to know the coop slowly, giving them time to explore. Watch them carefully, especially if there are older chickens there too. Make sure the big chickens aren’t being mean or bullying the chicks.
Pay close attention to how they’re getting along to ensure all the chickens are safe and happy. Give them enough space, food, water, and a safe place to make this big change easier.
Reaching this point means you’re done raising baby chicks, and now you have young chickens living in the coop!
Week 17-27: From Chicks to Egg Layers
After successfully raising baby chicks, you are now approaching an exciting phase – the time when your pullets will begin laying eggs. Depending on the breed, this typically occurs between 17-27 weeks of age. As you anticipate this milestone, there are a few steps you can take to ensure a smooth transition.
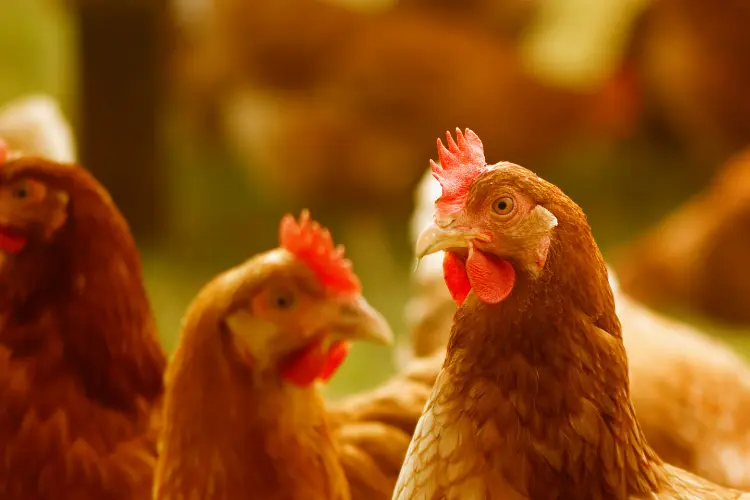
To support healthy eggshell formation, provide extra calcium from crushed oyster shells during the weeks leading up to their first eggs. This helps to meet their increased calcium requirements and promotes strong eggshells.
Create a comfortable and inviting space for your hens to lay their eggs by providing a nesting box for every three hens. Consider placing a fake egg, such as a golf ball, in the nests to encourage them to lay there. This simple trick can help establish their preferred egg-laying spot.
Conclusion: Raising Baby Chicks Week by Week
In this comprehensive guide to raising baby chicks week by week, you have gained valuable insights and tips for providing optimal care and nurturing to your growing chicks.
By following the recommended practices, you can create a safe and healthy environment, fostering the growth and development of your baby chicks into thriving chickens. Embrace this rewarding experience and enjoy the joys of raising these adorable creatures while witnessing their transformation week by week.


Comments are closed.