Quick and Easy: How to Clean a Chicken Coop in Minutes

As any seasoned farmer will tell you, maintaining a clean and hygienic chicken coop is not just a chore; it’s a cornerstone of responsible poultry care. A well-kept coop ensures the health and happiness of your feathered flock while maximizing egg production.
So. in this guide, we’ll walk you through the practices and proven techniques that farmers have relied on for generations to keep their chicken coops clean and pristine.
Why Should You Clean Your Chicken Coop?
- Health of Your Chickens: A clean coop promotes the health and well-being of your chickens. Accumulated feces and soiled bedding can lead to the growth of parasites and harmful bacteria that can make your chickens sick. Regular cleaning helps reduce the risk of diseases and ensures a healthier flock.
- Reduced Odors: A clean coop smells better. Accumulated waste and soiled bedding can produce unpleasant odors that bother you and your neighbors. Regular cleaning helps keep odors in check.
- Pest Control: Dirty coops attract pests like flies, rodents, and mites. These pests can harm your chickens and compromise their health. Cleaning the coop regularly helps deter pests and keep your flock safe.
- Improved Air Quality: Dust, dirt, and cobwebs can accumulate in a neglected coop, leading to poor air quality. Proper cleaning helps remove these particles, ensuring that your chickens breathe cleaner air, reducing the risk of respiratory issues.
- Preventing Ammonia Buildup: Chicken feces contain ammonia, which can build up in a dirty coop and irritate the respiratory systems of your chickens. Cleaning the coop prevents excessive ammonia levels, ensuring a healthier environment.
- Egg Quality: Clean nesting boxes and bedding are crucial for maintaining the quality of eggs. Dirty nesting material can lead to dirty eggs, which may require additional cleaning and can affect the overall quality of the eggs you collect.
Read also: Truth or Myth: Will Chickens Stop Laying if Coop is Dirty?
Complete Steps to Clean Your Coop
Step 1: Prepare Your Tools
Before you embark on your coop-cleaning journey, gather all the necessary tools and materials. Having these tools at your disposal will make the cleaning process smoother and more efficient. Here’s what you’ll need:
- Rake
- Shovel
- Broom and dustpan
- Bucket
- Scrub brush
- Scraper
- Hose with a nozzle
- Natural disinfectant (e.g., vinegar solution)
- Protective gear (gloves and mask)
Step 2: Remove Chickens
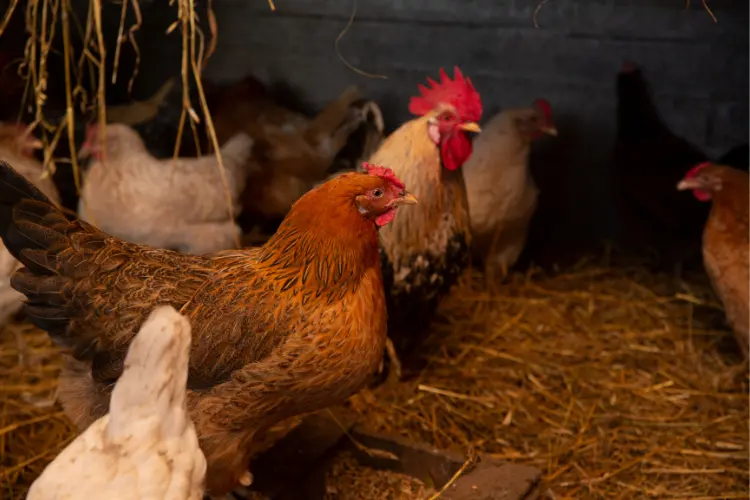
Safety first! Ensure all your chickens are safely removed from the coop and placed in a secure area. This step is essential to prevent accidental bird harm during the cleaning process.
Step 3: Empty the Coop
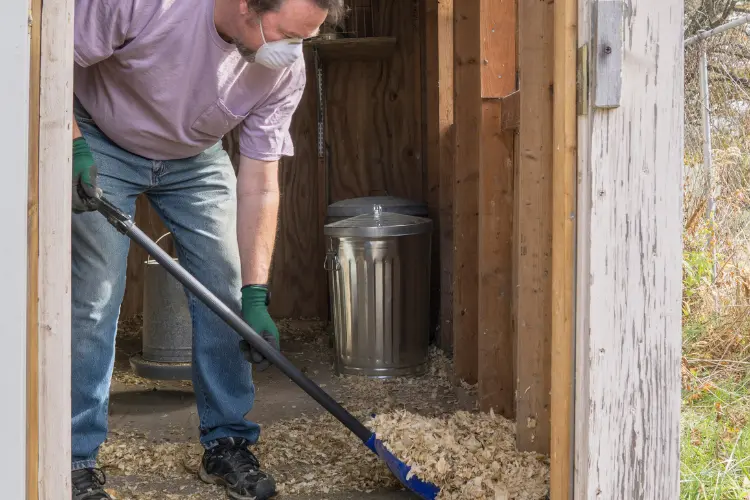
With the chickens safely out of the way, it’s time to start the cleaning process. Remove all soiled bedding, feathers, and waste material from the coop. Use your rake and shovel to scoop out these materials.
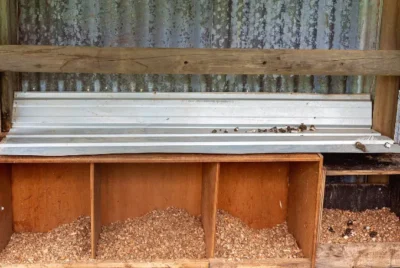
Pay special attention to areas where waste accumulates, such as nesting boxes, roosting bars, and corners.
Step 4: Compost Soiled Bedding
Instead of simply discarding the soiled bedding, consider composting it. Chicken manure is a great source of soil fertilizer for your garden.
Create a designated compost pile for chicken waste and let it decompose over time. This sustainable approach not only reduces waste but also provides a nutrient-rich soil conditioner for your plants.
Step 5: Hose Down the Coop
To make the cleaning process more manageable, use your hose to thoroughly spray down the entire interior of the coop. This step helps loosen any remaining debris and waste, making cleaning easier. However, avoid using bleach, as it can be harmful to chickens.
Step 6: Scrub and Clean
With the coop still wet, it’s time to roll up your sleeves and get to scrubbing. Use a scrub brush and scraper to clean all surfaces inside the coop.
Focus on removing any caked-on poop or dirt. Pay extra attention to the roosting bars, nesting boxes, and walls. Check for any mildew or mold and promptly remove them.
Step 7: Second Hose Down
After scrubbing, give the coop another thorough hose down. This step ensures that the coop is free from any remaining loosened debris and cleaning residue. It’s an essential part of achieving a clean and sanitary environment for your chickens.
Step 8: Apply Disinfectant
To eliminate bacteria and odors, spray the coop with a natural disinfectant solution. A mixture of water and vinegar works well as a safe and effective disinfectant. Don’t forget to disinfect the drinking troughs and feeders, as these are areas that can be easily overlooked.
Step 9: Dry and Add Fresh Bedding
Proper ventilation in a chicken coop can prevent moisture buildup, which can lead to health issues for your birds. Allow the coop to air dry completely before adding fresh bedding.
Once the coop is dry, spread a layer of clean bedding material, such as straw or wood shavings, to provide a comfortable and clean surface for your chickens.
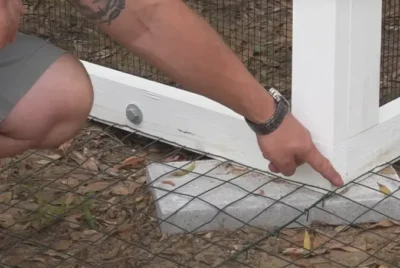
Step 10: Inspect and Repair
While cleaning, take the opportunity to inspect the coop for any damage or signs of wear and tear. Address any issues promptly to ensure the structural integrity of the coop. Regular maintenance can prevent more significant problems down the line.
Step 11: Return Chickens
Once the coop is clean, dry, and safe, you can happily return your chickens to their refreshed living space. They’ll appreciate the clean environment, and you’ll enjoy healthier and happier birds.
Step 12: Regular Maintenance
To maintain a clean coop and healthy chickens, establish a regular cleaning schedule. Cleaning every few weeks or as needed will prevent waste buildup and ensure your chickens have a comfortable and hygienic home.
How Often Should You Clean Your Chicken Coop
Cleaning your chicken coop is a crucial part of maintaining a healthy and productive environment for your flock. While the frequency of cleaning your coop can vary depending on factors like coop size, the number of chickens, and local conditions, a general guideline is to perform a total clean-out at least twice a year.
However, it’s essential to stay attentive to signs that indicate the need for cleaning, such as dust, dirt, soiled bedding, dirty nesting material, and built-up chicken feces. Regular monitoring and prompt cleaning, when these signs appear, can help prevent health issues and ensure your chickens have a clean and comfortable living space.
Ultimately, the goal is to balance maintaining cleanliness and minimizing stress on your chickens during the cleaning process.
Conclusion
In poultry farming, maintaining a clean and hygienic chicken coop is a non-negotiable duty. It’s a practice that defines responsible chicken ownership and yields many benefits. By following the practices and proven techniques outlined in this guide, you’ve embarked on a journey toward coop cleanliness that will reward you and your flock tenfold.
Remember, cleanliness is not just a task; it’s a way of life for the devoted farmer. As you clean your chicken coop regularly, you’ll witness the positive impact on your birds’ health, the quality of your eggs, and the overall comfort of your feathered friends.
So, take pride in your role as a diligent farmer, and let your clean coop stand as a testament to your commitment to the well-being of your cherished chickens. Here’s to a future filled with happy clucks and abundant harvests—may your coop always shine with the care of a dedicated farmer. Happy cleaning.