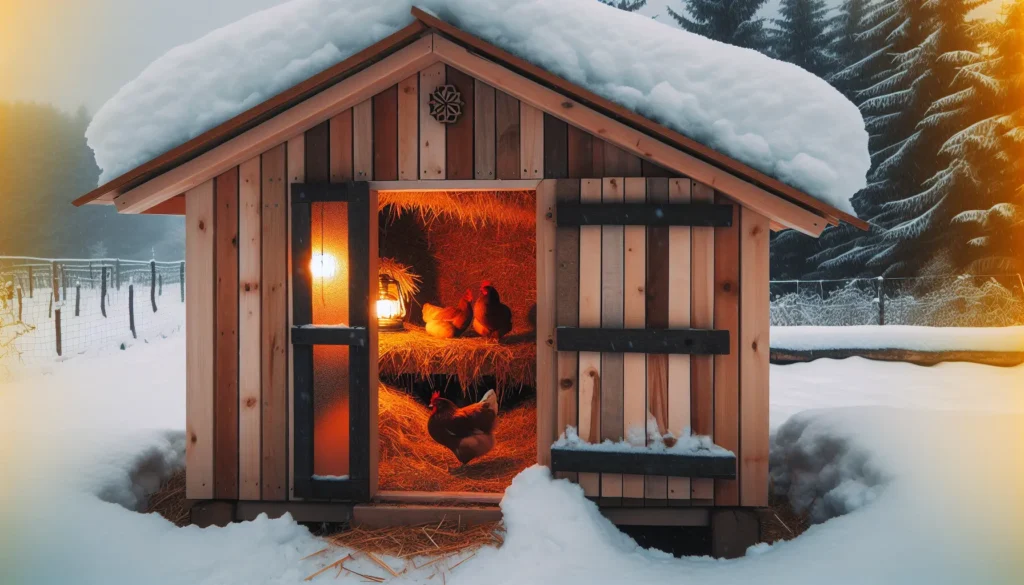
Chicken Coop Insulation: Keeping Your Chickens Warm and Predators Out

Winter can be a challenging time for backyard chicken keepers. With the biting cold and harsh weather conditions, ensuring your chickens are comfortable and safe becomes crucial. And what’s the cornerstone of their comfort and safety? You guessed it right, a well-insulated chicken coop! A well-insulated abode keeps your chickens warm and protects them from potential health hazards that may arise from cold weather.
In this post, we’ll walk you through a step-by-step guide on how to insulate chicken coop, helping you keep your chickens warm and predators out. We’ll delve into essential insulation techniques, the importance of draft-proofing your coop, how to prepare the chicken run for winter and much more.
Essential Insulation Techniques for Your Chicken Coop
Insulating your chicken coop is a comprehensive process that involves several key steps. Each of these steps is crucial in ensuring that your feathered friends stay warm and comfortable during the harsh winter months. Not only does proper insulation provide warmth for your chickens, but it also encourages them to continue laying eggs, even when temperatures drop.
Step 1: Block Out Drafts and Add an Insulation Cover
The first step in insulating your chicken coop is to block out any significant drafts. This can be achieved by sealing any gaps or cracks in the structure where cold air might enter. Once this is done, an insulation cover can be added to the walls of the coop to provide an additional layer of warmth.
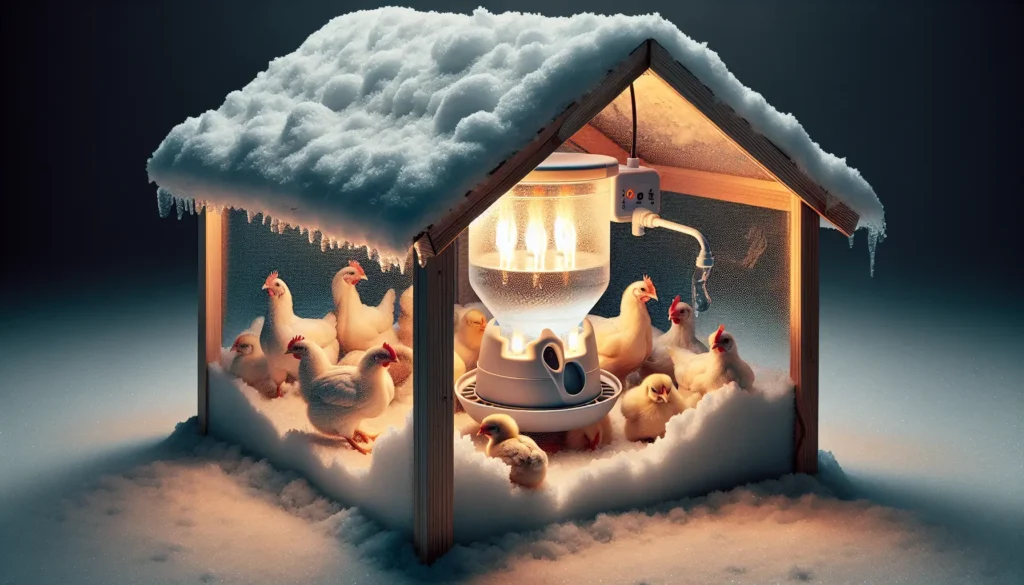
Step 2: Consider Using a Heat Lamp
A heat lamp can provide additional warmth for your chickens during the colder months. However, it’s important to use it carefully to avoid any fire hazards. Always ensure the lamp is securely mounted and not directly touching any part of the chicken coop.
Step 3: Choose the Right Insulation Material
Selecting the right insulation material is crucial for effectively insulating your chicken coop. Some popular choices include fiberglass insulation, foam board insulation, and reflective foil insulation. Each of these materials has its own pros and cons, so it’s important to choose the one that best suits your specific needs.
There’s no universal approach to insulating your chicken coop. Factors such as your location, the coop’s size, and even the breed of your chickens can influence the choice of insulation material.
Styrofoam sheets, for instance, make a great insulation option for chicken coops. Spray foam insulation is another excellent choice due to its sturdiness, simplicity in application, and great insulation against the cold. Whichever material you choose, remember to keep ventilation in mind. To maintain ventilation, consider spacing out the foam insulation panels or cutting small holes in them.
Step 4: Determine the Best Method of Insulation
Insulation isn’t just about the walls and the roof; it’s also about the floor. That’s where the deep litter method comes in. This method involves keeping the bedding for chickens nice and warm by stirring it up and adding fresh bedding on top. The composting process of the litter generates heat, providing an extra layer of insulation.
However, keep in mind that this method necessitates monitoring moisture levels, as excessive moisture can disrupt the composting process.
Draft Proofing Your Coop

While insulation is important, draft-proofing your chicken coop holds equal significance. Draft-proofing doesn’t mean cutting off ventilation; it’s about preventing sudden gusts of air from entering the coop while ensuring a consistent air flow. This helps maintain a warm and comfortable environment in the coop, especially during the cold winter nights.
Draft-proofing involves sealing off drafts near the bottom and sides of the coop while ensuring adequate ventilation at the top. This way, you keep your chickens warm and ensure a healthy coop environment by letting the stale air escape.
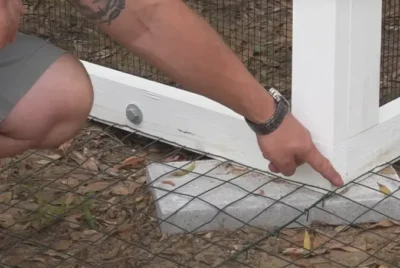
Identifying and Sealing Air Leaks
Air leaks in a chicken coop often occur in the following areas:
- Doors
- Windows
- Gaps in the walls or roof
- Cracks or holes in the flooring
Identifying these leaks is the first step towards a draft-free coop. Once you’ve located these gaps, you can seal them off with caulk or spray foam insulation.
Keep in mind, a well-sealed coop guarantees a cozier and more pleasant environment for your chickens during the winter months.
Balancing Insulation with Adequate Ventilation
While insulation and draft-proofing are crucial, it’s equally important to maintain good ventilation in the coop, especially in winter. An adequately ventilated coop helps keep the humidity levels low, providing a healthy environment for your chickens. Achieving a balance between insulation and ventilation can pose a challenge.
You need enough air movement to remove the stale air without causing drafts that blow directly on your chickens. This is particularly important if you’re keeping the dust bath in the coop as the dusty air needs to escape quickly after the chickens bathe.
Hence, monitoring ventilation while insulating the coop is essential for maintaining a healthy and warm coop environment.
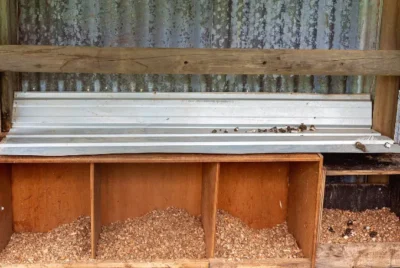
Enhancing Roosting Areas for Winter Comfort

Let’s turn our attention to a critical space in the chicken coop – the roosting area. Chickens spend a significant portion of their time roosting, and during winter, a warm and comfortable roosting area is vital for their well-being. There are several key considerations for the roosting area.
First, it’s important to provide enough space for each chicken to comfortably roost. Wide roosts are also recommended to prevent frostbite and hypothermia. The roosts should be placed higher off the ground to keep chickens safe from predators. Lastly, proper ventilation is crucial to prevent moisture buildup.
By creating a cozy and secure roosting area, chicken owners can help their chickens stay healthy and happy during the winter months, which is essential for laying eggs. So, how can we improve these roosting areas for winter comfort?
Adjusting Roost Design for Cold Weather
To keep your chickens warm during winter, consider adjusting your roost design. Using wider boards for roosting can help chickens keep their feet warm, thereby avoiding frostbite. The ideal size for roost bars to keep your chickens warm in cold weather is usually between 2 to 4 inches.
Additionally, placing roosts at least 1 to 2 feet above the ground gives your chickens space to snuggle up together for warmth. These simple adjustments can significantly enhance your chickens’ comfort during winter.
Preparing the Chicken Run for Winter
While the coop is the primary shelter for your chickens, the chicken run also plays a crucial role in their overall well-being. Providing your chickens with a well-protected chicken run can reduce their stress levels and keep them healthier during the winter months. Hence, preparing the chicken run for winter is equally important as insulating the coop.
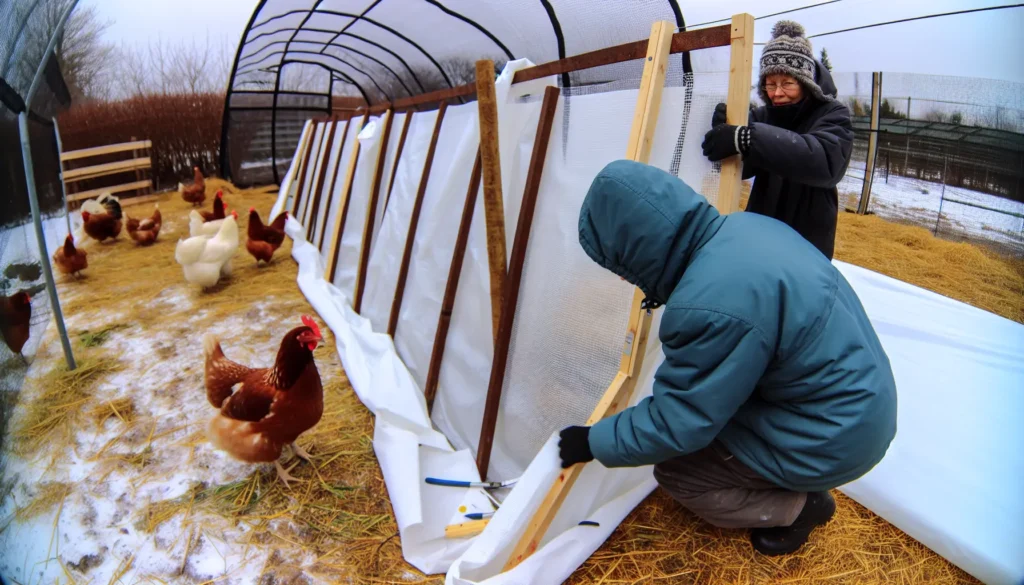
Shielding against wind and snow is vital for a chicken run during winter. Windbreakers and snow barriers can shield your chickens from the harsh winter elements, providing them with a dry and sheltered area even during snowy conditions.
Adding Windbreakers and Snow Protection
Windbreakers and snow barriers can significantly enhance the comfort of your chickens during winter. Some materials that can be used to make windbreakers include:
- T-posts
- Wooden fencing sections
- Plexiglas sheets
- Glass
- Construction plastic
- Wood pallets
Installing windbreakers on the side that receives the most wind can provide extra insulation from the wind and snow, helping to maintain a comfortable warm air inside your home.
Similarly, construction plastic and hardware cloth can act as effective snow barriers for chicken coops. These barriers can prevent snow build-up in the chicken run, ensuring that your chickens have a clean and dry space to roam about even during heavy snowfall.
Winter Feeding and Watering Solutions
Feeding and watering are fundamental aspects of raising chickens, and they become even more critical during winter. Chickens need more feed during the winter months to meet their higher energy needs. Therefore, supplying them with sufficient and nutrient-rich feed is crucial to maintain their health and warmth. In addition to feeding, ensuring that your chickens have access to fresh and unfrozen water is also crucial.
Using heated waterers or bucket heaters can prevent the water from freezing in the coop. But what about feeding? Let’s examine some winter feeding strategies to provide your chickens with additional heat and energy.
Read also: Best Heated Chicken Waterers in 2023 (Must-Have Tools)
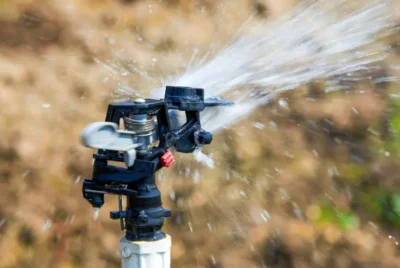
Keeping Water Thawed with Heated Waterers
Water is an essential requirement for your chickens, and during winter, providing them with unfrozen water can be a challenge. Heated waterers offer a convenient solution to this problem. These waterers use a submergible heater that sits at the bottom of the waterer and is thermostatically controlled to keep the water from freezing.
Installing a heated waterer is relatively straightforward. You can use a lamp fixture and extension cord with a can turned upside down and drill a hole in the can to feed the cord through. Alternatively, you could raise a bucket off the coop floor and attach a nipple waterer with a heated base.
Bear in mind, when using heated waterers, it’s critical to make sure the cord and plug are properly grounded for the safety of your chickens.
Supplemental Feeding for Extra Heat and Energy
Feeding your chickens the right food during winter is essential for their productivity and well-being. Supplementing their diet with scratch grains and cold-weather grasses can provide your chickens with the extra energy and warmth they need. The digestion of grains produces extra heat, helping to keep the chickens warm.
Also, providing chickens with certain foods like mealworms and whole seeds can help them stay warm in the cold. Mealworms are a great choice as they provide extra protein and energy, while whole seeds can be helpful as chickens digest them during the cold nights.
Thus, with the right feeding strategy, you can ensure your chickens stay warm and productive even during the cold winter months.
Retrofitting Coops for the Cold Season
As we’ve discussed, preparing your coop for winter involves insulating, draft-proofing, and enhancing roosting areas. However, if you have an existing coop, you might need to retrofit your coop for the cold season. Retrofitting involves adapting and upgrading existing structures to enhance their energy efficiency and comfort during cold weather.
Repurposing is a budget-friendly and eco-conscious way to retrofit your coop. It involves using leftover or reused materials from other construction projects or items found at thrift stores or recycling centers. But what kind of materials can you repurpose, and how can you install them in your coop?
Utilizing Repurposed Materials for Coop Insulating
From old blankets to scrap wood, plenty of materials can be repurposed to insulate your chicken coop. For instance, plywood sheets can be attached to the walls and roof of the coop using wood screws to create a barrier that prevents heat loss and helps to keep the coop warm.
In fact, with a bit of creativity and effort, you can even transform your old house or garden shed into a cozy, insulated coop for your chickens. Regardless of the material you use, ensure the insulation is secure and doesn’t present any safety risks to your chickens.
Protecting Your Flock from Extreme Weather
Winter brings with it unpredictable weather conditions, from heavy snowfall to freezing temperatures. Hence, it’s vital to ready your coop and shield your flock from these extreme weather conditions. Ensuring the safety and comfort of your chickens during severe weather conditions involves checking the coop for any cracks in the walls, floor, or roof that could let in cold air or pests.
But what about sudden weather emergencies? How can you ensure the safety and comfort of your flock during a winter storm or a power outage? Let’s examine emergency preparedness for maintaining coop warmth.
Emergency Preparedness for Coop Warmth
Being prepared for emergencies is key to maintaining your flock’s well-being during winter. This involves preparing an emergency kit with essential supplies to keep your chickens warm and protected during severe winter storms. A chicken coop emergency kit should include items like:
- Vaseline or coconut oil
- Thermometers
- Scissors
- Tweezers
- Disposable gloves
- Saline or bottled water
- Sterile gauze
- Paper towels
In addition to the first aid kit, ensure that you have enough chicken supplies and extra bedding on hand to last through a winter storm. Also, consider having a backup plan to keep your coop warm during a power outage. Here are some options to consider:
- Insulating the coop
- Providing extra bedding
- Using heat lamps or heaters
- Using hot water bottles or heating pads
- Closing off drafts
Insulate Your Chicken Coop Now
Winterizing your chicken coop is an essential part of keeping your chickens warm, comfortable, and healthy during the cold months.
While preparing your coop for winter may seem daunting, with the right guidance and a little effort, you can create a warm and cozy haven for your chickens. So, don’t let the winter blues get to your feathered friends. Follow these tips on insulating your chicken coop and keeping your flock clucking happily all winter!