How to Attach Hardware Cloth to Chicken Coop for Ultimate Protection
In poultry keeping, ensuring the safety and security of your cherished chickens is a top priority. The unfortunate reality is that predators, both large and small, are always on the prowl, eager to make a meal out of your feathered friends. Attaching hardware cloth is a crucial step to fortify your chicken coop against these threats.
In this comprehensive guide, we will walk you through attaching hardware cloth to your chicken coop, providing ultimate protection for your poultry.
What is a Hardware Cloth?

Hardware cloth is like chicken armor, providing a barrier of safety for your coop. Typically made from welded wire, it’s durable and sturdy enough to tackle both your DIY and industrial projects. It’s like a trusty guard dog, keeping the coop safe from those sneaky predators day and night.
Plus, it’s versatile enough for gutter guards, sifting screens, and soffit covers. But its crowning glory is, of course, in chicken coop protection.
Why Material Matters?
Material matters when it comes to hardware cloth. Imagine you’re choosing a knight’s armor – you’d want something strong, durable, and resistant to attacks, right? The same goes for hardware cloth. The welded wire construction offers strength and stability, making it perfect for the job.
And just like how a knight’s armor has different sizes, hardware cloth comes in different sizes and gauges. For chicken coops, the ideal is a galvanized steel cloth with openings no larger than a half inch. This choice ensures your chickens are protected like royalty in their castle.
The Role in Chicken Coop Protection
Think of hardware cloth as your coop’s personal bodyguard. It’s excellent at keeping out predators, and its small mesh size prevents them from getting their hands or teeth in.
Like a fortress wall, it covers all sides of the pen, ensuring there’s no way for predators to get in. From the crafty raccoon to the sly rat, hardware cloth can keep various predators at bay. So, how’s that for protection?
Read also: How To Fox-Proof and Raccoon-Resistant Your Chicken Coop
Preparing Your Chicken Coop

Before you begin attaching the hardware cloth, it’s necessary to prepare your chicken coop. Just like how you’d prepare your home before a storm, you need to assess your coop for any signs of damage or weak spots. Clear the area around the coop, removing any vegetation and debris that might hinder the installation process. This way, you’re ensuring a smooth and efficient process, just like a well-oiled machine.
Assessing the Coop Structure
Initially, make sure your coop is in excellent condition. Is it stable? Is it well-ventilated? Are there any weak spots? Think of it as a health check-up for your chicken coop.
This step is crucial because the type of fasteners you’ll use and how you’ll attach the hardware cloth depends on your coop’s structure. So, grab a measuring tape and give your coop a once-over.
Cleaning and Clearing the Area
Now that you’ve assessed your coop, it’s time to roll up your sleeves and get cleaning. This isn’t just about making your coop look pretty; it’s about ensuring a smooth installation process. Here’s what you need to do:
- Remove everything from the coop and give it a good scrub.
- Clear the area around the coop as well – remove any vegetation, and make sure the ground is level.
- It’s all about creating a clean slate for your hardware cloth.
Tools and Materials Needed
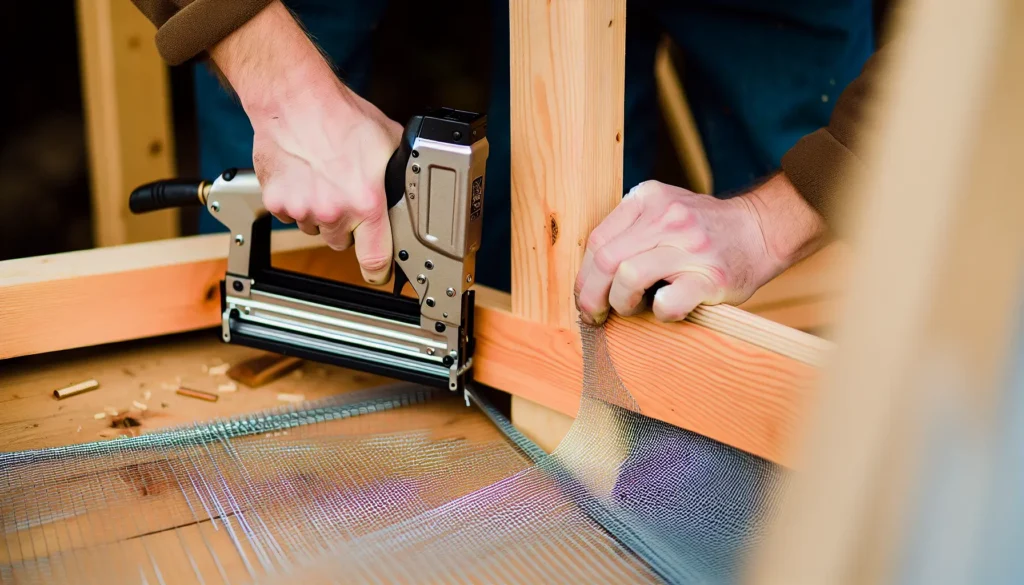
As with any project, having the right tools and materials on hand is key. For this task, you’ll need:
- Cordless drill
- Large flat washers
- Screws
- Tin snips
- Shovel
- Rake
- Measuring tape
- Pick or trench shovel
- Work gloves
- 4’ level or longer
- Fence post staples
The cordless drill is a key player, making attaching the hardware cloth a breeze with the help of a screw. Large flat washers and screws work together to ensure a secure fit. Tin snips will become your best friend, allowing you to easily cut through the wire mesh.
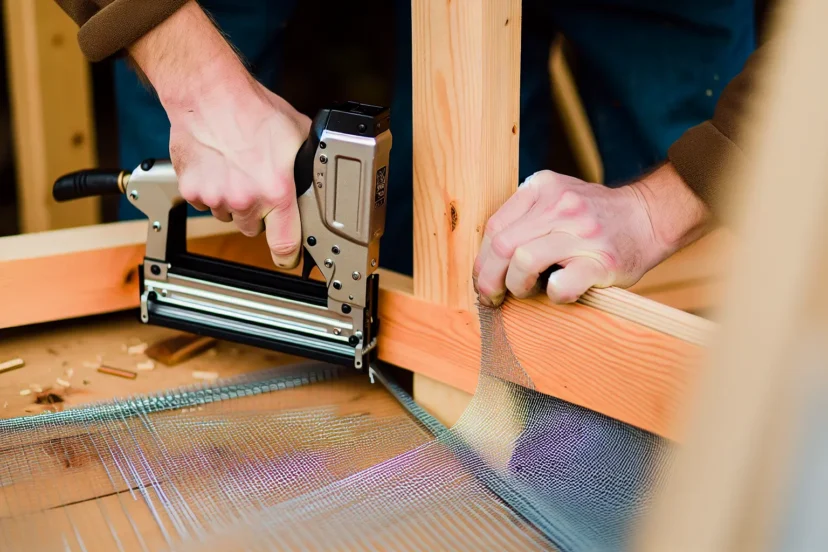
Moreover, the staple gun is another great option for securing the hardware cloth. Of course, don’t forget your work gloves and eye protection – safety should always come first! Each tool plays a crucial role in this project, so ensure you have all of them at your disposal.
What are the Right Fasteners?
The right fasteners are just as important as the right tools. The best options for attaching hardware cloth to wood are 1-1/4” fencing staples, galvanized nails, or galvanized screws. These provide excellent holding power, ensuring your hardware cloth stays put.
Before you commence with the process of attaching hardware cloth, ensure your fasteners are organized and ready.
How To Attach the Hardware Cloth to Your Coop
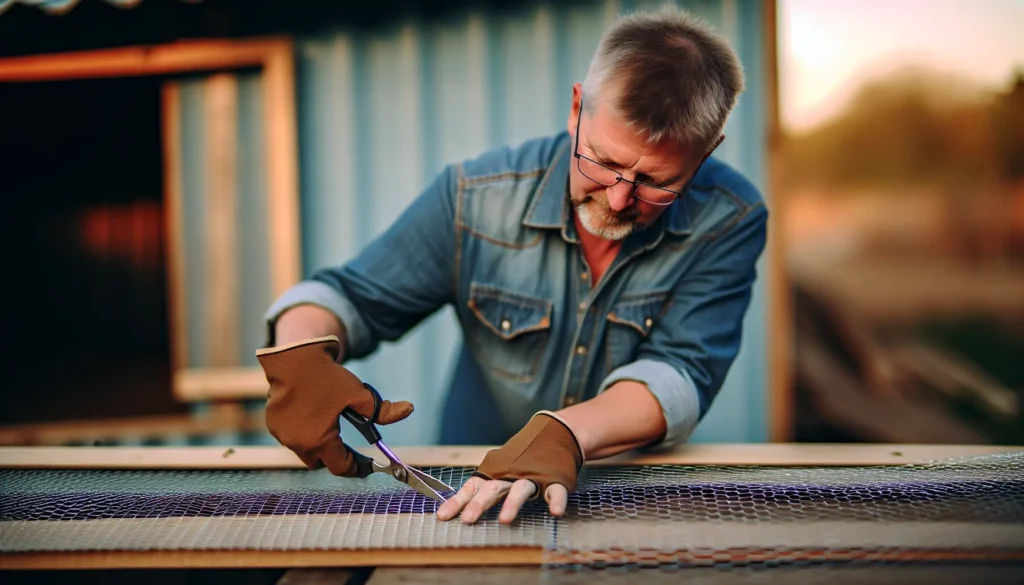
Having prepared adequately, it’s time to begin the process. Attaching the hardware cloth to your chicken coop involves measuring and cutting, securing the cloth, and reinforcing the edges and corners. Don’t worry; we’ve got you covered every step of the way.
1. Measuring and Cutting
Similar to a skilled tailor who takes precise measurements before cutting fabric, you also need to measure your coop accurately before starting to cut the hardware cloth. This ensures a perfect fit – not too big, not too small, just right.
Once you’ve measured, use your tin snips to cut the cloth. Remember, safety first – always wear gloves to protect your hands from sharp edges!
2. Securing the Cloth
Now comes the fun part – securing the cloth. Using your chosen fasteners and your trusty cordless drill, attach the cloth to the coop. The key here is to make sure that it’s securely fastened – you don’t want any predators slipping through. And remember, evenly spaced fasteners ensure a secure fit.
3. Reinforcing Edges and Corners
Reinforcing the edges and corners of your hardware cloth is akin to double-checking the locks on your doors and windows at night – it’s an extra layer of security. This step ensures that your cloth is firmly attached and gives your coop an extra level of protection against predators.
So, don’t skip this step – it’s better to protect against spam fraud and be safe than sorry, especially when dealing with spam fraud and abuse! To further enhance your security, websites use cookies and data to ensure a smooth user experience. One popular platform that takes these measures seriously is YouTube.
4. Finishing Touches

You’re almost there! All that’s left to do is put the finishing touches on your hardware cloth installation. This involves checking for gaps and conducting a final inspection. Consider it as the final pit stop in your chicken coop protection race.
5. Checking for Gaps
Checking for gaps in your hardware cloth is like proofreading your work – it’s your chance to catch any mistakes before it’s too late. A gap, even a small one, can be an invitation for predators. So, grab your magnifying glass (not literally) and start checking.
Keep in mind, even the tiniest gap or hole can potentially allow predators entry, so ensure any protective measures are age appropriate if relevant.
6. Final Inspection
The final inspection is your chance to make sure everything is in order. It’s like the final walk-through before you send off your masterpiece. Look for any sign of wear and tear, like loose screws or washers, tears or holes in the cloth, or gaps or openings that could let predators in.
This is your final opportunity to ensure everything is in top-notch condition, so take your time with your YouTube homepage and tailored content.
Personalized Enhancements for Your Coop
Your chicken coop is not just a structure; it’s a home for your chickens. And just like any home, it can benefit from some personalized enhancements. These upgrades can improve your coop’s aesthetics and functionality, making it a better place for your chickens to live.
1. Aesthetic Additions
Aesthetic additions to your chicken coop are like the icing on the cake – they make everything look better. You could add decorative elements, like curtains or wallpaper, or even plant flowers around the coop. These small touches can add a personal touch to your coop and make it feel more like home for your chickens.
2. Functional Upgrades
Functional upgrades are just as important as aesthetic ones. They not only make your coop look good, but they also make it more comfortable and safer for your chickens. Consider adding nesting boxes or roosting bars, or even installing an automated feeding system.
These enhancements will provide more options to make your chickens’ lives easier and more comfortable in their chicken run, while also offering personalized content and ads tailored to your preferences.
How To Maintain Your Hardware Cloth and Coop
Similar to a car that requires routine servicing, your chicken coop and hardware cloth need regular maintenance to guarantee their good condition. This includes regular check-ups and repairs whenever necessary. After all, prevention is better than cure, right?
1. Regular Check-ups
Regular check-ups are essential for spotting any potential issues before they become major problems. During your check-up, make sure to inspect the hardware cloth for the following signs of wear and tear:
- Rust or corrosion
- Bent or broken wires
- Holes or tears
- Loose or missing connections
By regularly checking for these issues, you can track outages and protect your hardware cloth, ensuring it remains in good condition and continues to provide the necessary protection.
Performing these routine inspections can help you conserve time and money in the future.
2. Repairing Damage
So, you’ve identified some damage during your routine check-up. What’s the next step? Don’t panic! Most minor damages can be easily fixed. Small tears or holes can be patched up with a patch kit, and loose or bent wires can be reattached or straightened with pliers. The key here is to act quickly – the sooner you fix the damage, the better.
Frequently Asked Questions
How do you secure hardware cloth to the ground?
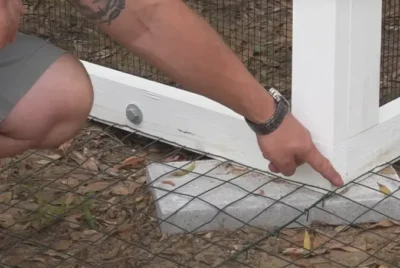
Secure hardware cloth to the ground by using magnetic 1/4″ nut drivers and screws or a concrete bit on a drill for more difficult surfaces.
How do you fasten hardware cloth together?
To attach hardware cloth, you can use a pneumatic stapler with 1-inch or 1.25-inch staples. This is the most common way to fasten it to your chicken coop.
What can I use to secure hardware cloth to wood?
For securing hardware cloth to wood, the most common advice is to use a pneumatic stapler and galvanized screws or staples. Alternatively, you can use washers and galvanized screws to secure it in place.
How deep should I bury hardware cloth for chicken coop?
For optimal protection, you should bury your hardware cloth at least 12 inches deep around the perimeter of the chicken coop and run. Doing this will help deter any diggers and protect your chickens from predators.
Attach Your Hardware Cloth Properly
You’ve done it! You’ve successfully attached the hardware cloth to your chicken coop and ensured that your chickens are safe and secure. It’s been a journey, but it’s been worth it.
Remember, the key to a successful chicken coop is regular maintenance and vigilance. Keep an eye out for any potential problems and address them promptly. Here’s to happy, healthy chickens in their fortress-like coop.

